Microsoft’s Power Automate is an extremely powerful tool for automating business processes. It’s rare to find a use case that Power Automate can’t enhance or add value to. A common use cases we run into is creating a workflow to handle document approval via SharePoint. So in this post, we will walk through the steps of building a Power Automate workflow that sends a document in SharePoint to a manager for approval.
Step 1: Set up, or navigate to, the SharePoint document library you want to use
Before building the workflow, you need to set up your SharePoint site and library where the documents will be stored. If you already have a SharePoint site and library set up, navigate to your library and skip to Step 2.
- Create the SharePoint site you want to use
- Within the site, create a new library where you will store the documents that need approval.
- Make sure you have added all the metadata that you want to store on your documents
Step 2: Create the Power Automate workflow
- Go to Power Automate and click on “Create a flow”.
- Select the “Blank flow” option and click “Create”.
- Under “When a new item is added in SharePoint”, select the SharePoint site and library where the documents are stored.
- Click on “Add an action” underneath the trigger and select “Get manager (V2)” from the Office 365 Users Connector.
- Select the User id Dynamic Value from the trigger.
- Now, add another action underneath “Get manager (V2)” and add “Start and wait for an approval”.
- “Title” – enter the headline for the approval that you are sending.
- “Assigned To” – enter the dynamic content for Email that comes back from the “Get manager (V2) action”
- “Details” – enter a message explaining the purpose of the approval
- “Item Link” – provide a link to the document in SharePoint through the itemUrl Dynamic Content from the trigger.
- “Item Description” – provide a description of the document in SharePoint.
- Next, add a “Condition” action underneath the approval and use the Dynamic content that represents the managers response to check whether or not they have approved it.
- Based on that response, we suggest a notification to the original creator letting them know the manager’s response. In addition, updating a metadata column on the Document Library with the response and the manager’s comments as well.
- Save the flow and give it a name such as “Document Approval Workflow”.
Step 3: Test the workflow
- Go to the SharePoint library where the documents are stored and select a document.
- Highlight your selected File, and within the top bar, select “Automate” and then the flow you just created
- Now run the workflow and let the manager know that this is a test. They can select whatever they would like, but we need to make sure everything works!
- Remember to remove their approval and comments from the SharePoint list afterwards.
That’s it! You have now successfully created a Power Automate workflow for document approval in SharePoint. This can be a great foundation to add on to later as more functionality is desired by end users, and the value is recognized. As always, if your organization needs assistance please reach out and we’re happy to help!


AI Agent Production Readiness: The AgentDesk Pilot, Week by Week
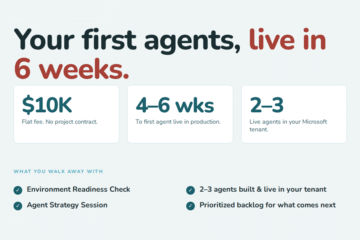
AI agent production readiness in six weeks for $10K flat. AgentDesk delivers two to three live Copilot agents in your Microsoft environment.


0 Comments